
- Most defects are process symptoms, not isolated machine problems.
- Material dryness, venting, and packing pressure are three of the highest-impact control points.
- Dimensional stability and appearance quality require both mold design review and process discipline.
- Root-cause analysis is faster than trial-and-error adjustment when defects repeat.
- For OEM and export projects, defect prevention is cheaper than downstream inspection and rework.
Injection molding defects are a quality-control problem with measurable causes and measurable fixes. For example, ISO 20457:2018 defines general tolerances for molded plastic parts, and many projects target tight dimensional control such as ±0.05 mm on critical features only when tooling, material, and process are all stable. In electronics and appliance housings, even a small cosmetic flaw can trigger rejection, so the most effective response is to connect defect inspection with mold design review, resin conditioning, and in-process control. If you need application-specific sourcing support, see the plastic injection mold page, the plastic shell mold page, and the 3D mold page for different part complexity levels.
What Are Injection Molding Defects and Why Do They Happen?
Injection molding defects are visible or measurable deviations from the intended part shape, size, surface, or mechanical performance.
They happen when the mold, the material, and the process do not work inside the same stable window. A part can look acceptable at first glance and still fail later because of hidden internal stress, incomplete fusion, or weak weld lines. That is why quality control in plastic injection molding should cover appearance, dimensions, and function together.
The core logic is simple: plastic flows, cools, shrinks, and locks into shape. If any stage is unstable, defects appear. The strongest manufacturers treat every defect as a clue that points back to one of five areas: resin preparation, mold design, machine settings, cooling balance, or part ejection.
| Defect family | Common visible symptom | Typical root cause area | Best first check |
|---|---|---|---|
| Short shot | Incomplete fill | Melt, venting, gate size | Shot size and fill pressure |
| Sink mark | Surface depression | Packing, wall thickness | Pack pressure and cooling time |
| Warping | Part deformation | Cooling imbalance, residual stress | Mold temperature and ejection |
| Flash | Excess material at parting line | Clamp force, mold fit | Clamp tonnage and shutoff wear |
| Burn mark | Dark or scorched area | Trapped air, excessive speed | Vent depth and injection speed |
Injection Molding Defects in Quality Control: The Most Common Types
Most injection molding defects can be grouped into filling defects, appearance defects, dimensional defects, and internal integrity defects.
This grouping helps quality teams move from symptom to cause faster. It also prevents the common mistake of fixing a visible issue while ignoring the real process failure underneath.
1. Short shot
A short shot means the cavity did not fully fill before the melt froze.
The most common causes are insufficient injection pressure, too low melt temperature, inadequate venting, undersized gates, or a resin that is too viscous for the part geometry. In thin-wall electronics housings, this often shows up at ribs, corners, or the last fill area. The first action should be to confirm whether the machine is reaching the designed shot size before increasing pressure blindly.
2. Flash
Flash means plastic escapes the cavity and forms thin excess material along the parting line, pins, or inserts.
It often signals a mismatch between clamp force and cavity pressure, worn tooling, poor shutoff surfaces, or overpacking. In high-cosmetic products, flash is a quality failure even if the part is dimensionally correct. For export projects, flash also creates extra trimming labor and can slow assembly.
3. Sink marks
Sink marks are local depressions caused by differential shrinkage, usually over thick sections or ribs.
When the outer skin freezes before the internal mass cools, the surface collapses inward. This is common in thick bosses, screw towers, and rib intersections. The most practical fix is to reduce wall thickness variation, improve packing, and increase cooling efficiency rather than simply raising injection pressure.
4. Warpage
Warpage is dimensional distortion caused by uneven shrinkage or residual stress.
It is especially important in plastic shell mold projects because a warped shell may still fit visually but fail assembly at snap-fits, screw posts, or sealing lines. Warpage can be driven by uneven cooling, fiber orientation in filled resins, asymmetrical geometry, or premature ejection.
5. Burn marks
Burn marks are dark or brown areas caused by trapped gas compression or thermal degradation.
They usually appear near the end of fill, around sharp corners, or where venting is poor. Lowering injection speed, improving vent design, or reducing melt temperature can help. If the resin is moisture-sensitive, drying discipline matters just as much as machine setup.
| Defect | Likely cause | Common part locations | Primary fix | Inspection focus |
|---|---|---|---|---|
| Short shot | Poor fill balance | Thin walls, far ends | Improve fill path | Full cavity fill |
| Flash | Excess pressure or wear | Parting line, inserts | Restore clamp and shutoff | Edge continuity |
| Sink marks | Thick section shrinkage | Bosses, ribs | Balance wall thickness | Surface flatness |
| Warping | Uneven shrinkage | Long flat parts | Stabilize cooling | Flatness and fit |
| Burn marks | Air trap or overheating | End of fill | Improve venting | Surface color and gloss |
How to Fix Injection Molding Defects by Root Cause
The fastest way to fix injection molding defects is to match each symptom with the most likely root cause category.
That approach reduces trial-and-error adjustments, which often create a new defect while masking the original one. In real production, experienced engineers usually start with material condition, then verify venting, then check the thermal and pressure profile of the mold.
Material-related fixes
Material condition is one of the most underestimated causes of unstable molding quality.
Hygroscopic polymers such as PC, PA, and PET can absorb moisture and create splay, silver streaks, bubbles, and reduced mechanical performance if drying is poor. For PC, resin suppliers commonly specify drying around 120 C for 3 to 4 hours, with moisture kept very low before molding; always follow the exact supplier datasheet for the grade being used. In practice, consistent drying is often more effective than later cosmetic sorting.
- Verify resin lot, storage method, and drying time before changing machine settings.
- Check whether regrind percentage is affecting melt stability or color consistency.
- Confirm that the resin grade matches the intended wall thickness and surface requirement.
Mold-design fixes
Mold design determines whether the process has room to succeed.
Poor gate location, unbalanced runner layout, weak venting, and sharp thickness transitions can make even a good machine struggle. This is why mold development should start from part geometry, not from tooling convenience. If the part is a consumer-electronics shell, the design should prioritize appearance, assembly, and structural integrity in that order.
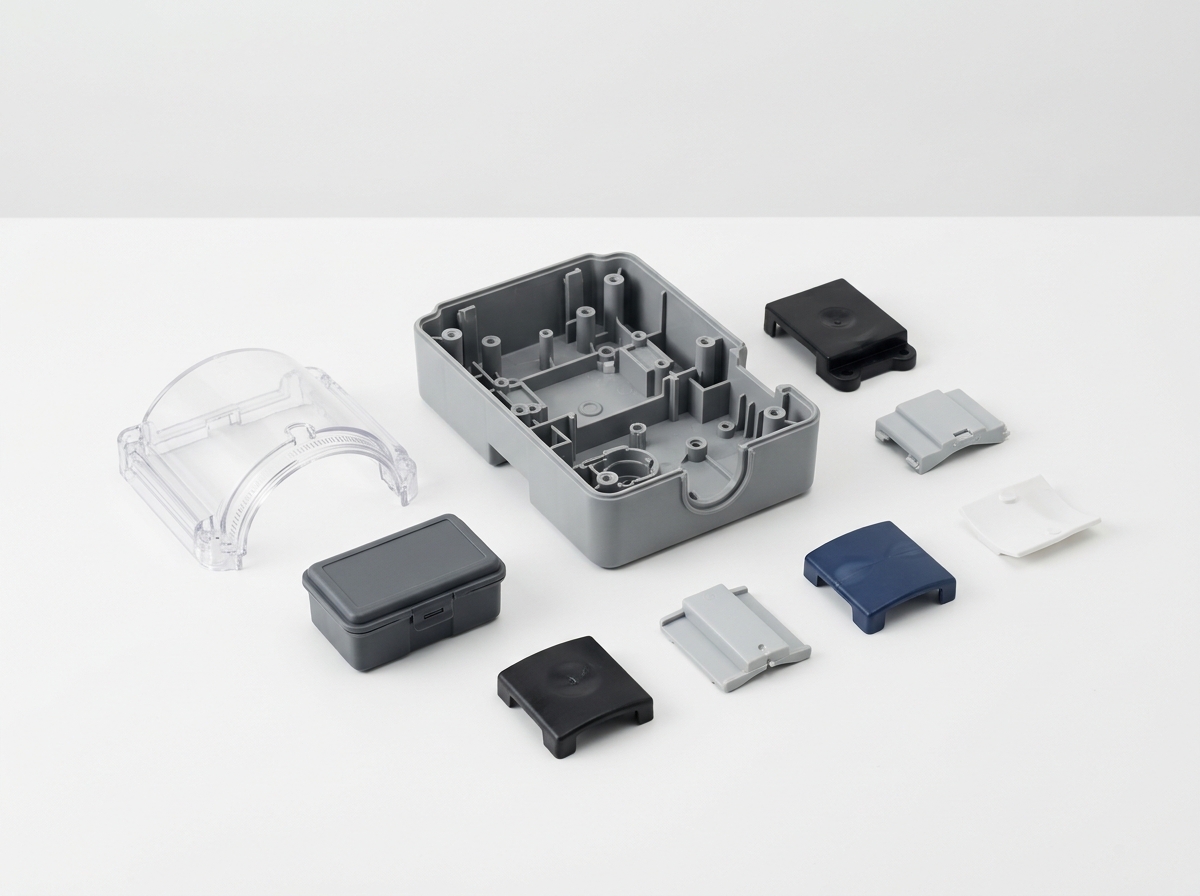
For products with visible surfaces, a plastic shell mold often needs better venting and more controlled gate placement than a hidden structural part. If the geometry includes complex freeform surfaces or differentiated branding features, a 3D mold can improve form accuracy but also increases sensitivity to cooling balance and ejection design.
 Machine-setting fixes
Machine settings are the final adjustment layer, not the first place to guess.
Typical variables include melt temperature, injection speed, packing pressure, hold time, mold temperature, screw back pressure, and clamp force. A small change in one setting can improve one defect and worsen another, so changes should be made one variable at a time. That is especially important in quality control for plastic injection molding because a stable process window is more valuable than a one-time perfect part.
| Process variable | What it affects | Common risk if mis-set | Adjustment principle |
|---|---|---|---|
| Melt temperature | Flow and fusion | Short shot or degradation | Stay within resin datasheet range |
| Injection speed | Fill pattern and air trap | Burn mark or weld line weakness | Use fill-speed profiling |
| Packing pressure | Shrinkage control | Sink or flash | Increase only until cavity is full and stable |
| Mold temperature | Surface finish and shrinkage | Warping or gloss mismatch | Balance both mold halves |
| Clamp force | Tool separation resistance | Flash | Match actual cavity pressure |
Quality Control in Plastic Injection Molding: Standards and Measurement
Good quality control in plastic injection molding depends on measurable inspection, not visual judgment alone.
For dimensional evaluation, ISO 20457:2018 provides tolerance guidance for molded parts, while ISO 527-1 defines tensile testing principles for plastics. For raw material flammability classification used in many electrical housings, UL 94 is commonly referenced in product specifications, and buyers often demand documentation alongside the physical sample. These references help connect design expectations with testable acceptance criteria.
On the metrology side, coordinate measuring machines, optical comparators, and calibrated go/no-go gauges are often used to confirm fit-critical features. A stable inspection plan usually includes first article inspection, in-process checks, and final random sampling. For a consumer-facing housing, cosmetic criteria should also define allowable gate marks, flow lines, weld lines, and color deviation before mass production begins.
According to NIST plastics and polymer testing resources, repeatable measurement and material characterization are essential for reliable polymer performance. That is why a robust quality control system links lab data with shop-floor process data instead of treating them as separate worlds.
Common inspection checkpoints
- Confirm resin grade, drying record, and lot traceability.
- Measure critical dimensions after process stabilization, not during startup noise.
- Inspect surfaces under controlled light for gloss, burn, sink, and weld-line quality.
- Check assembly fit with mating parts, not only standalone dimensions.
- Record defect location by cavity number to identify tool imbalance.
What Buyers Should Ask Before Approving a Mold or Production Run
Buyers reduce defect risk when they ask process questions, not only price questions.
This is especially true for OEM and ODM projects where the supplier is expected to transform a drawing or sample into a repeatable production part. The best suppliers are not just toolmakers; they are process partners who can forecast defect risks before steel is cut. For sourcing teams, a custom plastic parts page can be useful when evaluating how the supplier handles fit, finish, and production readiness.
- What is the expected gate position and why was it chosen?
- How will venting be validated during trial runs?
- What dimensional tolerances are realistic for the selected resin and geometry?
- How will the supplier control moisture, regrind, and color consistency?
- What is the plan if a cavity begins to drift out of spec during production?
For high-mix programs, a one-stop solution model can reduce handoff losses between design, tooling, trial, and volume production. That matters because many defects happen at the interfaces between teams, not inside one department.
Injection Molding Defect Prevention for Electronics, Home Appliances, and Industrial Parts
Different industries fail in different ways, so defect prevention should be application-specific.
Electronics housings usually care most about cosmetic consistency, snap-fit integrity, and dimensional repeatability. Home appliance parts often need larger sizes, stronger ribs, and stable assembly across long production runs. Industrial parts may tolerate less cosmetic perfection but require stronger structural reliability and long-term supply stability.
| Industry | Top defect risk | Why it matters | Prevention priority |
|---|---|---|---|
| Consumer electronics | Warping, flash | Fit and appearance | Cooling balance and clamp stability |
| Home appliances | Sink marks, weld lines | Visible surface quality | Wall design and packing control |
| Industrial equipment | Short shot, cracking | Functional reliability | Material selection and structural validation |
| Toys and leisure goods | Color inconsistency | Brand perception | Batch control and drying discipline |
| General consumer goods | Flash and cosmetic marks | Retail acceptance | Tool maintenance and inspection lighting |
In all of these sectors, a stable plastic injection mold is the foundation. Tooling quality determines how much process margin the production line has, and process margin determines how many defects reach the customer.
How to Build a Practical Defect-Reduction Workflow
A practical defect-reduction workflow combines design review, trial validation, and production monitoring.
The most effective teams do not wait for complaints. They build a loop: define the defect, classify the likely cause, test one correction, record the result, and freeze the best process window. That turns defect control from reactive firefighting into repeatable quality control.
- Define the defect in measurable terms, such as flash length, warp amount, or fill incompleteness.
- Separate cosmetic issues from functional issues so priorities stay clear.
- Check mold, material, and machine factors in that order.
- Test one variable at a time and document the result.
- Lock the validated settings and train operators on the control points.
For sourcing teams working with custom plastic parts, this workflow is also a supplier-evaluation tool. A factory that can explain defect causes clearly is usually better prepared for launch, repeat orders, and export documentation.
FAQ
What is the most common injection molding defect?
Short shot, flash, sink marks, and warpage are among the most common defects, but the exact ranking depends on part geometry, resin choice, and mold condition.
How do I fix sink marks in plastic injection molding?
Reduce wall thickness variation, improve packing pressure and hold time, and increase cooling efficiency around thick sections or ribs.
Why does warping happen after the part cools?
Warping usually comes from uneven shrinkage, residual stress, or unbalanced cooling, and it often becomes visible only after ejection and full cooling.
What causes flash in injection molded parts?
Flash is usually caused by excessive cavity pressure, insufficient clamp force, worn shutoff surfaces, or mold mismatch at the parting line.
How can quality control reduce injection molding defects?
Quality control reduces defects by combining incoming material checks, in-process measurement, standard inspection criteria, and cavity-level defect tracking.
What should buyers ask before approving a mold?
Buyers should ask about gate location, venting, tolerance capability, drying control, regrind policy, and the trial plan for defect verification.
Which resin factors most affect appearance quality?
Moisture, melt flow, color dispersion, contamination, and thermal stability are the main resin-related drivers of appearance defects.
Post time: Sep-17-2026