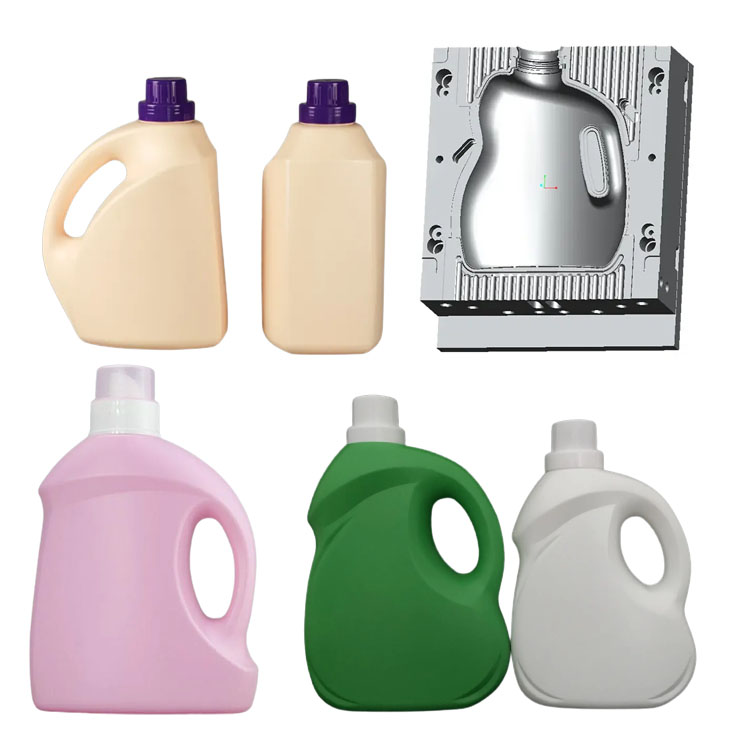
The entire production process of blow-molded bottles (taking one-step injection stretch blow molding as an example)
The core principle is to injection mold the parison and then immediately stretch and blow mold it on the same machine. This method is highly suitable for manufacturing high-performance PET mineral water bottles and beverage bottles.
Step 1: Raw material preparation and pretreatment
The most commonly used material is PET (polyethylene terephthalate), and it is also applicable to PP, PC, etc.
Drying: PET raw materials have strong hygroscopicity and must be strictly dried at high temperatures (such as 150-180℃) using a dehumidifying dryer to reduce the moisture content to an extremely low level (such as below 0.005%). This is the key to ensuring the bottle is transparent and does not become brittle.
Step 2: Injection molding of the parison
The dried PET pellets are sucked into the injection molding machine barrel and heated and plasticized into a molten state.
The melt is injected into the parison mold through an injection screw to form a transparent parison in the shape of a test tube.
The bottle mouth part of the parison has been fully formed and achieved the final dimensional accuracy at this stage.
Step 3: Temperature adjustment of the parison
The formed hot parison is transferred to the temperature control station. During this process, the parison is uniformly cooled to an ideal temperature range that is most suitable for stretching (approximately 90-110℃). Temperature uniformity is the key to ensuring the quality of subsequent blow molding.
Step 4: Stretching and blow molding
This is the most crucial step, which is completed within a blow molding mold.
Longitudinal stretching: The blow molding mold is closed, and a stretching rod is inserted from top to bottom into the parison to stretch it longitudinally to the bottom of the mold.
High-pressure blowing: At the same time, high-pressure air (usually 20-40 bar) is blown in from the top of the stretching rod, blowing the parlet laterally like a balloon and tightly adhering to the inner wall of the cold blow molding mold.
Step 5: Cool and set
The bottle is kept under pressure in the blow molding mold and cooled for a few seconds to fix its shape. The cooling waterways inside the mold will quickly carry away the heat.
Step 6: Open the mold and remove
The blow molding mold is opened, and the formed bottles are taken out by the mechanical hand and conveyed to the subsequent processes.
Step 7: Post-processing and quality inspection
Trimming: Remove the excess flash (material handle) from the bottle mouth.
Detection
Capacity detection: Ensure the accuracy of the filling quantity.
Sealing performance test: Check whether the bottle mouth size and thread are qualified.
Wall thickness detection: Use an ultrasonic thickness gauge to ensure uniform thickness of the bottle body, especially at the bottom and shoulders.
Pressure test: For carbonated beverage bottles, an internal pressure resistance test is required.
Post time: Sep-25-2025

